AutoStopping Rules for GCE VMs
Prerequisites
- You must provide the required permissions to Harness to create an instance in your GCP account.
- You must provide the required permissions to read the secrets and fetch the certificates stored in the secret for TLS-based flows.
- Ensure that you reserve some IPs if you intend to allocate elastic IP while creating an AutoStopping proxy.
Creating an AutoStopping Rule for RDS
- In Harness, navigate to Cloud Costs module -> AutoStopping Rules
- Click New AutoStopping Rule
- Select GCP as your cloud provider. Choose an existing GCP connector or click New Connector to create one.
After this, there are 3 simple steps to set up your AutoStopping rule:
- Step 1: Configuration
- Step 2: Setup Access
- Step 3: Review
- Enter a Name for your rule
- Set the Idle Time - how long an instance should be inactive before stopping
- In the Resources to be managed by the AutoStopping rules section, select "Compute Engine VM(s)".
- Click on + Add an instance. Add the instances that you want to manage by this rule.
- Set up Advanced Configuration:
- Hide Progress Page: This is especially useful when the service is invoked by an automation system, as it prevents misinterpretation of the progress page as the intended response from a service that is onboarded to AutoStopping.
- Dry-Run: Toggle the button if you wish to evaluate this feature without terminating your cloud resources. For more information, go to Evaluate AutoStopping rules in dry-run mode.
- Dependencies: Link your rule to other AutoStopping rules when resources depend on each other.
- Fixed Schedules: Create fixed schedules to automatically start or stop your instances at specific times.
Click to expand advanced configuration details
Choose how users will access your VM instances:
Setup Access for TCP workload or SSH/RDP
Setting up access for TCP workload or SSH/RDP allows AutoStopping to detect activity and idleness, and ensure that the database is up and running only when you need it. Use the AutoStopping Proxy URL (IP/Hostname of the Proxy and a unique autogenerated port number) for this AutoStopping Rule when you connect to the RDS database using any database client. The Proxy URL is generated when you save the AutoStopping Rule. If you need to access the resources managed by this AutoStopping rule using TCP or SSH/RDP HTTPS URL, you need to perform the following steps:
- Choose an AutoStopping Proxy from the Specify AutoStopping Proxy dropdown list to set up access.
- Toggle SSH or RDP to specify the listening ports. The port number is autopopulated based on the security group.
- Specify the source port numbers and the target TCP ports your application is listening to. If the source port is not specified, a random port will be generated at the backend. This auto-generated port will continue to be used as long as the target port remains unchanged or unless the user explicitly modifies the source port.
- Click Next.
Set up access for HTTP/HTTPS workload
If you need to access the resources managed by this AutoStopping rule using an HTTP or HTTPS URL, you need to perform the following steps:
Choose an AutoStopping Proxy from the dropdown list to set up access.
SSH/RDP Access (AutoStopping Proxy)
Click to expand SSH/RDP access configuration details
In Review, verify all the configuration details and click Save Rule. To edit any of the configuration settings, click EDIT and modify the settings.
Your AutoStopping rule is listed under the AutoStopping Rules dashboard.
Use the Harness CLI to access resources through SSH/RDP
SSH/RDP allows you to access the resources managed by the AutoStopping rule via SSH or RDP HTTPS URL. Select this option if the underlying applications running on the resources managed by AutoStopping Rule are accessed via SSH or RDP.
-
In Setup Access, select SSH/RDP.
-
Select your operating system to download the Harness CLI for your system.

-
Click Download CLI.
-
You can connect using SSH or RDP.
SSH commands
To connect to remote servers via SSH/RDP, such as PuTTY, use the Harness CLI connect command. The connect command opens a proxy connection in your machine which can be used from other applications.
harness connect --host hostname --port <ssh/rdp port>
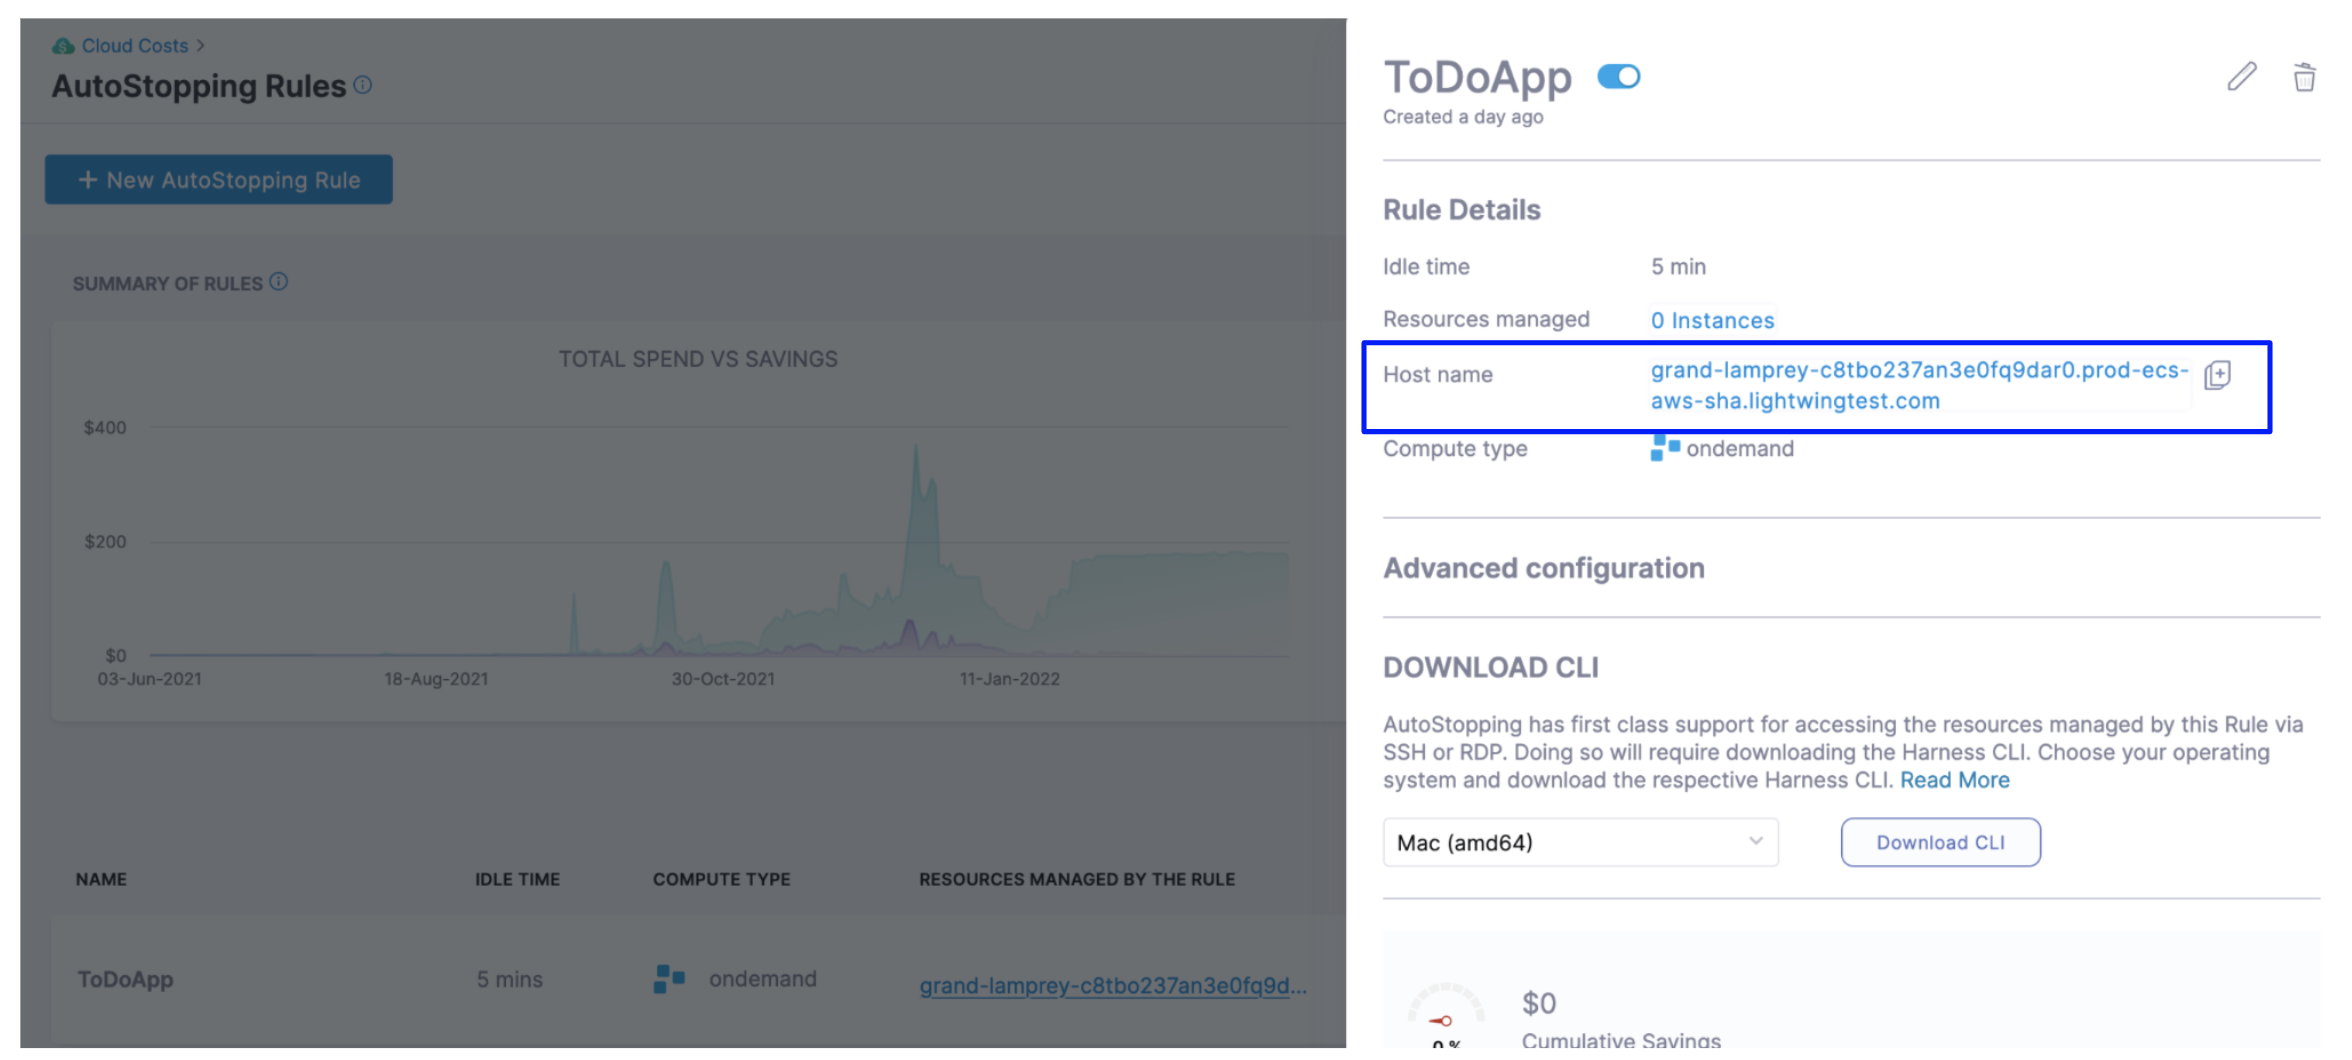
You can simply copy the hostname from the AutoStopping Rule dashboard view. Click on the AutoStopping Rule that you want to connect and copy the hostname.
For example:
harness connect --host default-test-ssh-1.abc1000test.lightwingtest.com --port 22 -- -i ~/.ssh/ry-jupyter.pem
Here is the output:
Proxy listening details:
   Rule name:           Test SSH 1
   Listen address:      127.0.0.1
   Port forwarding:     14527 => 22
   Protocol:            tcp
   Started at:          2021-05-19 21:53:38.320943 +0530 IST m=+48.950643931
Harness connect created a secure tunnel from your computer to the given port after bringing up the VM. Now open the RDP/SSH client and use the hostname and port information provided above to connect.
harness ssh --host default-test-ssh-1.abc1000test.lightwingtest.com --user ubuntu --config lwc.toml -- -i ~/.ssh/ry-jupyter.pem
RDP commands
For RDP run the following command:
harness rdp --host default-test-rdp-1.abc1000test.lightwingtest.com
Run the following command to connect via private IP:
harness rdp --host default-test-rdp-1.abc1000test.lightwingtest.com --internal-ip